CD Recording and CD Insert Printing
Your Guide to CDs for Recording
When it comes to picking the best CDs for recording, it really boils down to two choices: CD-R discs for a permanent, one-time burn, or CD-RW discs for projects you need to rewrite over and over. Your decision hinges on one simple question: do you need a final, unchangeable copy, or a reusable disc for testing things out?
Your Essential Guide to Recordable CDs
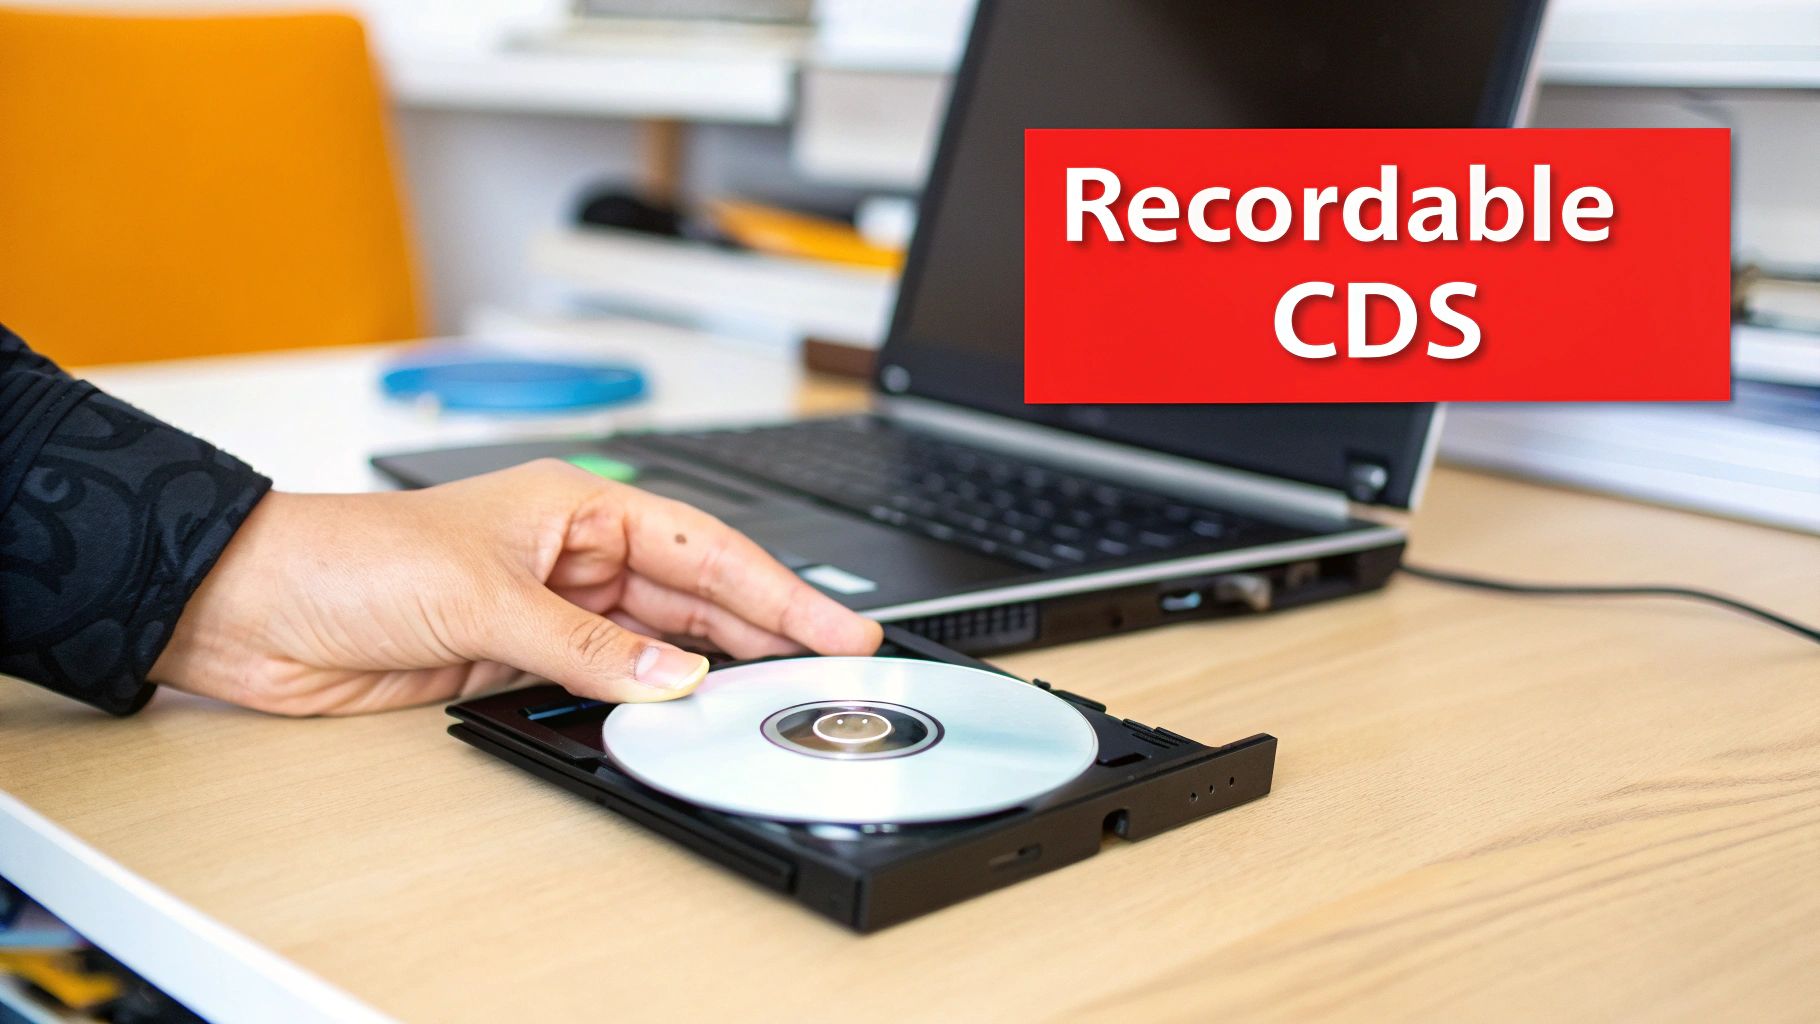
So you want to record your own audio projects on a CD. Perfect. Whether you’re a musician burning a demo, a DJ crafting the perfect mixtape, or just trying to save some precious audio files, you’ve come to the right place. We’re going to break down what actually makes a CD ‘recordable’ and how that blank, shiny disc transforms into your personal creation.
We’ll start with a solid foundation, making sure you feel confident enough to move on to the more technical stuff later. Because even with streaming everywhere, physical media gives you a tangible connection to music that a digital file just can’t match.
Why CDs Are Still a Great Choice
In a world run by playlists and algorithms, a custom-burned CD is something special. It can be a thoughtful gift, a professional promo tool for your band, or a super reliable way to archive high-quality audio. Unlike a streaming service, a CD puts you in control—no subscription fees, no platform changes, just your music.
Here’s why people still turn to CDs for recording today:
- Superior Audio Quality: Standard audio CDs use uncompressed formats like WAV. This delivers sound quality that’s often miles ahead of the compressed files you get from streaming.
- Tangible and Personal: A physical CD with custom artwork makes a real statement. It’s perfect for artists trying to connect with fans or for creating a heartfelt gift, like a mixtape from a service like Mixtape Duplication.
- Universal Compatibility: Just think about it—nearly every car, computer, and stereo from the last three decades can play a standard audio CD. Your project is guaranteed to reach a huge audience.
- Archival Stability: When you store them right, high-quality recordable CDs offer a stable, long-term backup for important audio. They’re safe from hard drive failures or a cloud service suddenly shutting down.
Once you get the fundamentals, you can really make this enduring format work for you. Let’s start by looking at the different kinds of discs out there.
Choosing Your Disc: CD-R vs. CD-RW
When you’re ready to burn your first disc, the very first choice you’ll make is picking the right kind of blank CD. The world of cds for recording really boils down to two main players: CD-R (Recordable) and CD-RW (ReWritable). Getting this right from the start is key to making sure your project turns out exactly how you want it.
The easiest way to think about it is this: a CD-R is like writing with a permanent marker. Once you burn your music or files onto it, that’s it—it’s locked in for good. This “write-once” quality makes it the perfect choice for anything final, like your band’s demo, a master copy for duplication, or a personalized mixtape from a service like Mixtape Duplication.
On the other hand, a CD-RW is more like a whiteboard. You can put your tracks on, give them a listen, and if you don’t like the order or want to swap out a song, you can just wipe the whole thing clean and start over. This makes it a fantastic tool for testing out a tracklist, making temporary backups, or any other time you know you’ll need to make changes.
Understanding Compatibility and Use Cases
The real difference between these two comes down to how they’re built, which directly affects how well CD players can read them. A CD-R uses a special organic dye layer. When you burn it, your computer’s laser permanently changes this dye, creating a highly reflective surface that looks a lot like a store-bought CD. This is why they work in almost any player out there.
A CD-RW, however, uses a metallic phase-change alloy. The laser heats and cools this material to write and rewrite data—sometimes up to 1,000 times! The catch is that this surface is naturally less reflective than a standard CD or a CD-R.
Because of this, many older car stereos, home audio systems, and portable CD players just can’t read CD-RW discs. If your goal is to share your music with as many people as possible, CD-R is always the safest bet.
Even though streaming dominates today, the CD format has a pretty amazing history. It hit the market back in 1982 and totally changed how we listened to music. While global sales peaked around 2.4 billion units in the year 2000, the format still holds its own for specific uses. If you’re curious about the format’s journey, you can dive deeper by reading the full research analysis on Music Business Research.
A Quick Comparison Guide
To help you choose the right disc for your project, it’s useful to see their features side-by-side. Think about what you need your final CD to do, and the best option usually becomes pretty clear.
Here’s a simple table to help you decide at a glance.
CD-R vs CD-RW Feature Comparison
A side-by-side comparison of CD-R and CD-RW discs to help you choose the right one for your recording project.
| Feature | CD-R (Recordable) | CD-RW (ReWritable) |
|---|---|---|
| Primary Use | Final copies, music albums, permanent archives | Temporary storage, testing tracklists, data backups |
| Rewritability | Write-once; data is permanent | Can be erased and rewritten multiple times |
| Compatibility | Excellent; plays in most CD players | Fair; may not work in older or some car stereos |
| Cost | Generally less expensive per disc | Slightly more expensive due to rewrite technology |
Ultimately, it all comes down to what you’re making. For a permanent, shareable, and universally playable audio CD, the classic CD-R is your go-to. But for flexibility and the freedom to experiment, a CD-RW gives you the space to try, erase, and try again.
Making Sense of Speed, Capacity, and Formats
https://www.youtube.com/embed/qbChel8a2EY
Okay, so you’ve picked your weapon of choice: CD-R for a permanent masterpiece or CD-RW for a practice run. Now what? The next step is decoding all those numbers on the packaging. Understanding capacity, speed, and format is the difference between a perfect burn and a coaster for your coffee table.
The biggest number you’ll see is the capacity. A standard recordable disc holds 700MB of data, which translates perfectly to 80 minutes of uncompressed audio. This is the universal standard for what’s called the “Red Book” audio format—the exact same one used for albums you’d buy in a store. For anyone making a mixtape or a band demo, that 80-minute limit is your creative canvas.
Decoding Recording Speed
Another important spec is the recording speed, which you’ll see as a number followed by an “x” (like 16x or 52x). This tells you how fast the disc can be burned. While a higher number means a quicker process, faster isn’t always better, especially when it comes to audio.
Pushing a burn to its maximum speed can sometimes introduce tiny, almost invisible errors that manifest as skips or glitches during playback. It’s a classic case of “more haste, less speed.”
For the most reliable, highest-quality audio CDs, it’s a good practice to burn at a slower, more deliberate speed—something like 8x or 16x. This gives the laser more time to precisely etch the data into the disc’s dye layer, resulting in a solid, universally playable CD.
This simple diagram helps visualize which disc type is right for your goal.
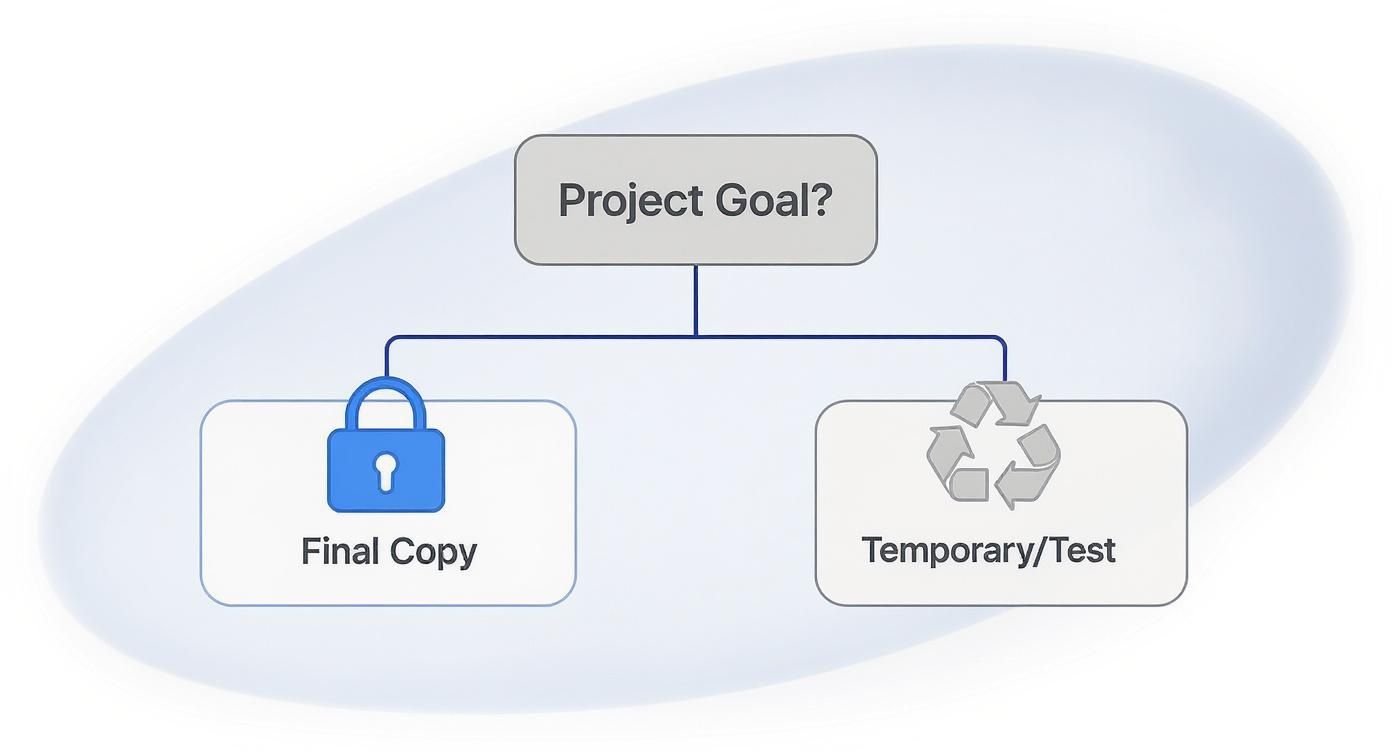
As you can see, the CD-R is the go-to for a final, locked-in copy, while the CD-RW gives you the freedom to test, erase, and try again.
Choosing Between Audio and Data Formats
Finally, you have to decide how you’re going to burn the disc. You’ve got two main choices when it comes to cds for recording:
- Audio CD (CD-DA Format): This is the classic music format. It creates a disc that will play in just about any CD player on the planet—from that ancient boombox in the garage to a high-end Hi-Fi system. If you want universal compatibility, this is the only way to go.
- Data CD (with MP3s/WAVs): This approach treats the CD like a tiny, portable hard drive. You can drag and drop hundreds of compressed MP3 files onto a single 700MB disc, but there’s a catch. It will only play back on devices specifically designed to read data CDs, like computers, modern car stereos, and some DVD/Blu-ray players.
Even with streaming’s dominance, the physical CD has shown surprising resilience. In 2023, while the number of units sold went down, CD revenue in the US actually jumped by 11.3%, thanks to collectors, special editions, and fans who want something tangible. You can learn more about the CD market’s surprising growth at Music Week.
Preparing Your Project for a Flawless Burn
A great CD doesn’t start at the burner. It starts with a little bit of prep work. Getting your files and artwork in order before you record is the secret ingredient that prevents those frustrating errors, saves you from wasting blank discs, and ensures your final CD sounds and looks exactly like you planned.
Think of it like a chef getting all their ingredients chopped and measured before they even turn on the stove. The better the prep, the better the final dish. Before you even think about sliding a blank disc into the drive, let’s get your project ready.
Start with High-Quality Audio Files
Your audio files are the foundation of this whole thing. If you start with a low-quality file, you’re building your house on shaky ground. No matter how perfectly you burn the disc, the sound will always be held back by that weak foundation.
For the best possible sound, you have to start with uncompressed audio formats. These files contain every last bit of the original data captured during the recording, giving you that rich, detailed listening experience you’re after.
- WAV (Waveform Audio File Format): This is the undisputed champ for high-quality audio on Windows systems. It’s uncompressed, widely supported, and preserves the original sound perfectly.
- AIFF (Audio Interchange File Format): Think of this as the Apple equivalent of WAV. It offers the exact same lossless, uncompressed quality and is the go-to for anyone working in Mac-based audio production.
On the flip side, you have formats like MP3. They’re called “lossy” because they literally throw away parts of the audio data to shrink the file size. While that’s fine for your phone, that compression permanently removes sonic detail. Burning an MP3 to a CD won’t magically bring that lost quality back.
Using a high-resolution WAV or AIFF file is the difference between a crisp, clear photograph and a blurry, pixelated one. You want your CD to have the richest, most detailed sound possible, and that starts with the source file.
Finalize Your Tracklist and Artwork
Once your audio files are pristine, it’s time to think about the listening journey. Putting together your tracklist isn’t just about picking songs—it’s about creating a smooth, intentional flow that guides the listener from start to finish.
Take a minute to nail down these details:
- Track Sequencing: How do the songs flow into one another? Arrange them in an order that tells a story or builds a specific mood. The transition from one track to the next is a huge part of the experience.
- Naming Conventions: Get organized! Make sure all your files are named clearly and consistently, like “01_Artist_SongTitle.wav,” “02_Artist_SongTitle.wav,” and so on. This simple step prevents a world of headaches and errors during the burning process.
- Setting the Gaps: Do you want a seamless transition or a dramatic pause? Most burning software defaults to a two-second gap between tracks, but you can customize this to create the perfect feel for your project.
Finally, don’t sleep on your artwork. If you’re planning to print a jewel case insert or design an on-disc label, your images need to be print-ready. That means using a resolution of at least 300 DPI (dots per inch) to avoid that blurry, amateur look. You’ll also want to set your color mode to CMYK (Cyan, Magenta, Yellow, Key/Black), which is the standard for professional printing. This ensures the colors on your final CD actually match what you designed on your screen.
DIY Burning vs. Professional Duplication Services
Okay, so you’ve got your master audio files polished and your tracklist is locked in. Now you’re at a crossroads: should you burn these CDs yourself, or is it time to call in the pros? Honestly, there’s no single right answer. It all comes down to the size of your project, your budget, and what you’re trying to achieve.
Think of it like this: DIY burning is the home-cooked meal of the CD world. It’s perfect for small, personal runs—maybe 10 to 20 mixtapes for your closest friends or a handful of demos to pass out at a local show. You’re in total control, the initial cost is next to nothing, and you can make them whenever you want. This is the way to go when you need a few copies right now and love a good hands-on project.
Professional duplication, on the other hand, is like hiring a caterer for a big party. When you need 50, 100, or even 1000 discs, the whole game changes. A pro service gives you a level of consistency and quality that’s tough to replicate with a desktop burner, making sure every single CD is a perfect clone.
When to Make the Switch
The tipping point is usually about quantity and quality. Burning a dozen discs at home? No problem. But that time commitment explodes as your numbers go up. Trying to burn 100 CDs yourself will tie up your computer for hours, and you’ll have to babysit every single disc.
Professional duplication is built for volume and a clean, retail-ready finish. These services use automated towers to crank out hundreds of discs quickly, with crisp, full-color printing right on the surface—a look you just can’t get with a Sharpie or sticky labels.
For independent musicians or anyone wanting to create a really special gift, a service like Mixtape Duplication is the perfect middle ground. They handle all the technical heavy lifting for larger orders but still give you that custom, personal feel you’re after.
Comparing Your Options
Let’s lay it all out so you can see which path makes the most sense for your cds for recording.
| Factor | DIY Burning (At Home) | Professional Duplication |
|---|---|---|
| Best For | Small batches (1-50 units), personal projects | Larger quantities (50+ units), professional releases |
| Cost | Low startup cost; gets pricey per disc for big runs | Higher initial cost; way cheaper per disc on large orders |
| Quality | Varies depending on your burner, software, and discs | Consistent, high-quality results with fewer duds |
| Printing | Limited to markers, adhesive labels, or basic inkjet | Professional on-disc printing and full packaging options |
| Time | Very time-consuming; you do all the work by hand | Fast turnaround on big orders; saves you a ton of time |
Bottom line: if you’re just making a few mixtapes for fun, DIY is a great way to go. But if you’re pressing a short-run album or need a big batch of promo CDs that look like they came from a record store, a duplication service is the smarter move.
Labeling and Packaging Your Recorded CDs
You’ve put in the work—the audio is prepped, and your disc is burned. Now for the fun part: bringing it all to life with the final presentation. Whether you’re handing out a promo for your band or creating a personal gift, the right look turns a simple disc into something special.
You can go for a quick DIY vibe or a more polished, retail-ready finish. The best route really just depends on your goal, your budget, and how many copies you’re making.
Choosing Your Labeling Method
How you label your cds for recording says a lot. It’s the first thing people see, and each option offers a different feel, from quick-and-easy to seriously professional.
Here are the most common ways to get it done:
- Permanent Marker: This is the fastest and cheapest way, no question. It’s totally fine for personal archives or quick demos, but it can look a bit rushed and might not be easy for everyone to read.
- Adhesive Labels: You can buy kits to design and print your own custom labels that stick right on the disc. They’re a step up from handwriting, for sure. But be warned: they can sometimes throw the disc off-balance, causing playback skips, or start peeling off down the road.
- Inkjet Printable Discs: For a clean, professional finish, this is the way to go. These CDs have a special matte white surface made for inkjet printers, letting you print your artwork directly onto the disc. The result is a crisp, durable, and perfectly balanced product that looks like it came from a major label.
A well-designed, directly printed disc instantly elevates your project. It shows you care about the details and makes a much stronger first impression than a scrawled marker ever could.
Selecting the Right Packaging
Packaging isn’t just for looks—it’s what keeps your disc safe from scratches and cracks. The case you choose sets the final tone for the entire project.
Consider these popular options:
- Paper or Plastic Sleeves: These are the most budget-friendly and lightweight choice. They’re perfect for mailing out promos or handing out a large number of discs at a show without breaking the bank.
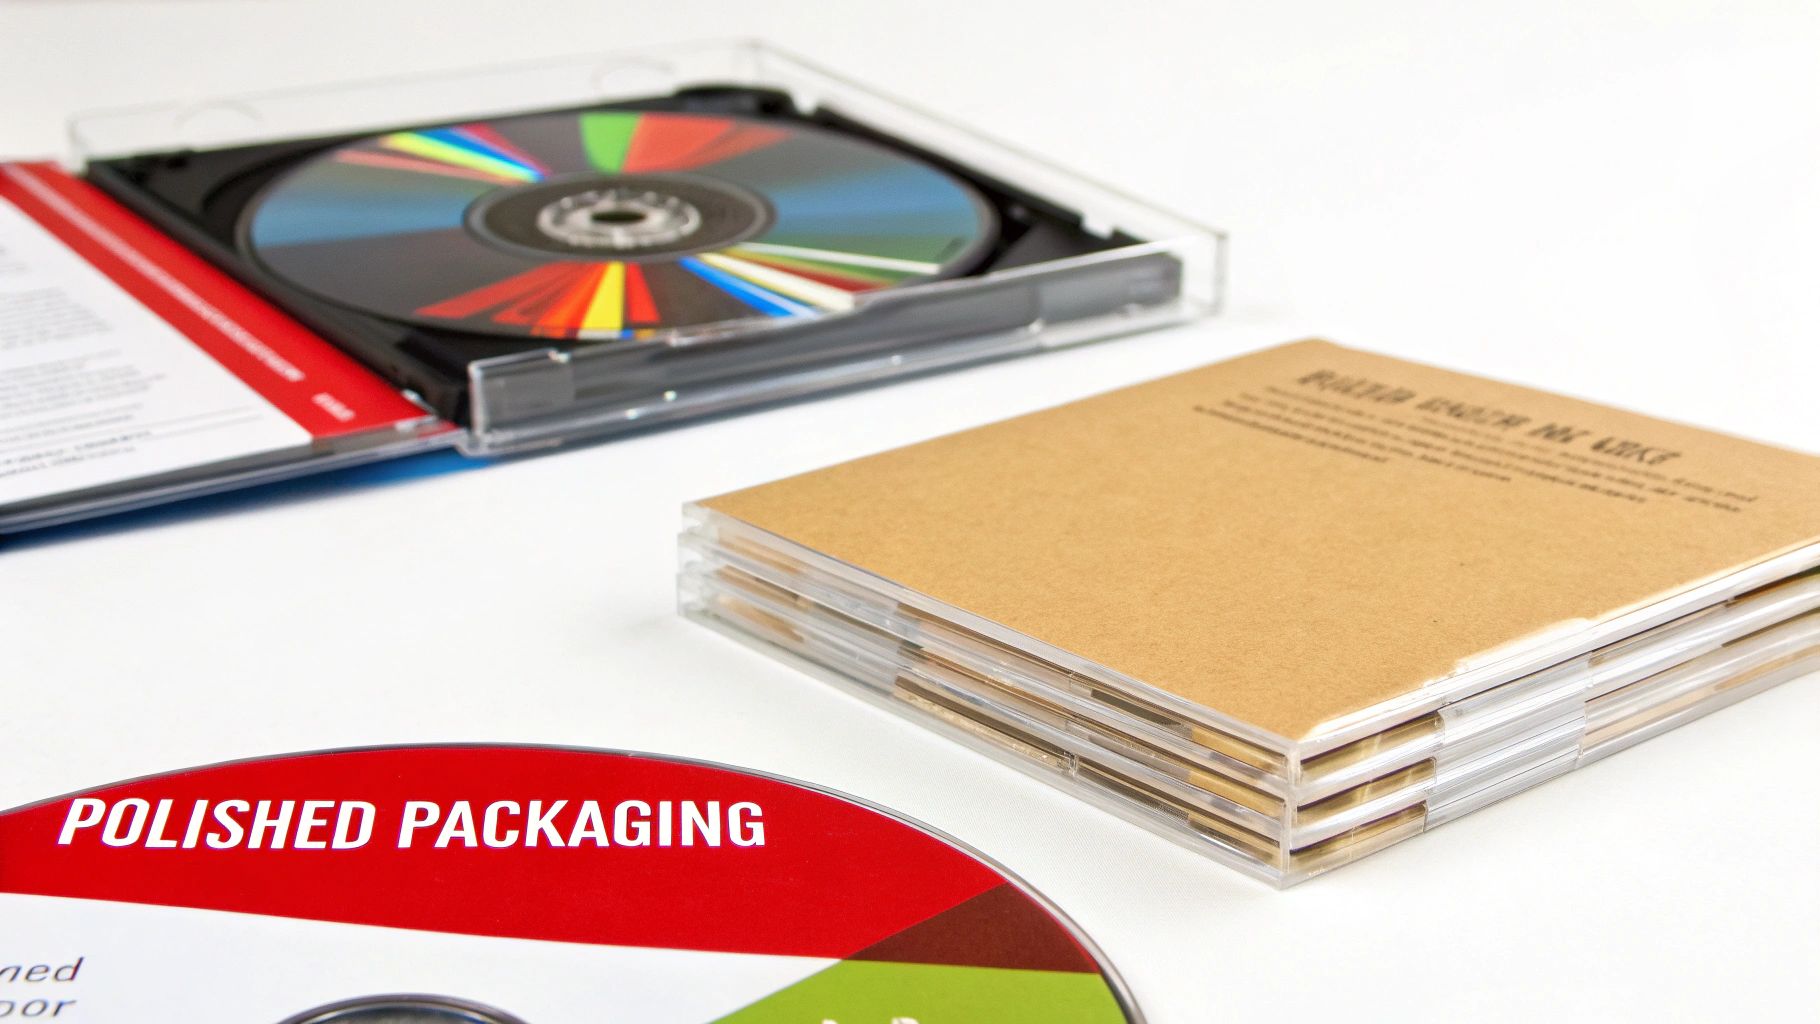
- Standard Jewel Cases: The classic. This clear plastic case gives your disc top-notch protection and has slots for a printed front booklet and a back tray card, giving you plenty of real estate for artwork and tracklists.
- Slimline Jewel Cases: Exactly what they sound like—about half the thickness of a standard case. They save space and are a bit tougher than a paper sleeve, offering a clean, compact presentation.
At the end of the day, nothing beats the combo of a directly printed disc inside a jewel case with custom artwork. A service like Mixtape Duplication can bring it all together for a final product that looks and feels completely professional.
Your Top Questions About Burning CDs
Even after getting the basics down, a few questions always seem to pop up when you’re getting ready to burn your first batch of CDs for recording. It’s totally normal. Getting these details right can be the difference between a great project and a coaster.
Let’s clear up some of the most common questions. Think of this as your final check-in before hitting that “burn” button.
Can I Play a Recorded CD-R in Any CD Player?
Yes, almost every time. CD-R discs are the gold standard for compatibility because once they’re burned, their surface reflects light in a way that’s very similar to a professionally pressed, store-bought CD. This means they’ll work in just about any car stereo, home system, or computer you can find, new or old.
CD-RWs, on the other hand, are a different story. They use a metallic alloy that’s less reflective, and older CD players just don’t have the right kind of laser to read them. If your goal is to share your music with as many people as possible, CD-R is always the safest bet.
When you’re making demos or mixtapes for a broad audience, stick with CD-R. Its near-universal compatibility means everyone can press play without a single issue.
What Is the Best Speed to Burn an Audio CD?
This one trips a lot of people up. Even though your discs might be rated for lightning-fast speeds like 52x, for audio, slower is almost always better. Burning at a relaxed pace, like 8x or 16x, dramatically cuts down on the risk of errors.
Why? A slower speed gives the laser more time to etch clean, precise pits into the disc’s dye layer. This steady hand results in a far more reliable CD with fewer skips or glitches. Those few extra minutes it takes to burn are a small price to pay for a perfect, listenable final product.
How Many Songs Can I Fit on a Standard 700MB CD?
A standard 700MB disc holds a maximum of 80 minutes of music when you burn it as a standard “Audio CD” (also known as the CD-DA format). The number of songs you can squeeze in really just depends on how long they are. You could fit twenty 4-minute tracks or sixteen 5-minute tracks.
Now, if you burn it as a “Data CD” using MP3s, you can cram over 150 songs on there. Just remember that a data disc will only play in MP3-compatible devices—like a computer or a newer car stereo—not in an older, traditional CD player.
Ready to create a professional-looking mixtape without the hassle? Mixtape Duplication can turn your playlist into a high-quality, fully packaged CD perfect for any occasion. www.cdinsertprints.com