CD Duplication Affordable
A Guide to Professional CD Duplication Services
CD duplication is a pretty straightforward process for making multiple copies of a disc. It’s perfect for projects like custom mixtapes, indie band EPs, or even promotional materials for your business.
Unlike replication, which is the mass-production method used for major label albums, duplication is essentially burning your data onto high-quality, blank CD-Rs. This makes it the perfect choice for smaller batches and quick turnarounds. You can get professional-looking physical media without needing a massive budget.
Why Bother With CDs in a Digital World?

It’s easy to write off CDs as a relic, especially when we’re all swimming in streaming playlists and digital downloads. But while streaming is convenient, it just doesn’t have the tangible connection that physical media offers.
For artists, bands, or anyone putting together a heartfelt gift, a professionally duplicated CD is so much more than a piece of plastic. It’s a physical product that represents your brand, your art, or your message in a way a link never could.
Think about the merch table at a local band’s show. Selling a CD gives fans a real, direct way to support the artist while taking home a piece of the experience. The same goes for creating a custom mixtape for an anniversary—handing someone a beautifully packaged CD with custom artwork just hits different than texting them a playlist.
The Unmatched Quality and Connection
One of the biggest arguments for choosing cd duplication services is audio fidelity. Let’s be honest, streaming platforms compress the heck out of audio files to save bandwidth. A duplicated CD, however, keeps your audio in its full, uncompressed glory. You get the crisp, clear sound you actually intended for people to hear.
Beyond the sound, a physical CD brings a few other things to the table that digital just can’t touch:
- Tangible Value: A CD is a collectible. It’s something fans and friends can hold, display, and keep for years.
- Branding Opportunity: The custom artwork on the disc, jewel case, or digipak is your chance to make a professional and memorable first impression.
- Offline Accessibility: No internet? No problem. CDs work anywhere, from a car stereo on a road trip to an old boombox at a backyard barbecue.
The relevance of physical media isn’t just about nostalgia. It’s about offering a premium, high-fidelity experience that creates a deeper connection between you and your audience. A well-produced CD signals professionalism and a genuine commitment to quality.
And the market reflects this. The global CD and DVD duplication service market was valued at around USD 1.715 billion and is expected to keep growing. This isn’t just big labels; it’s driven by indie creators and small businesses who get the lasting impact of a physical product. You can learn more about the physical media market trends to see why it’s still such a vital industry.
Deciding between digital and physical isn’t an either/or situation. It’s about picking the right format for your goals. To help you decide, here’s a quick breakdown of when each format shines.
Digital vs Physical Media: When to Use Each
| Use Case | Best for Digital Distribution | Best for CD Duplication |
|---|---|---|
| Broad, Casual Sharing | Instantly shareable with anyone, anywhere via a simple link. | Not ideal for mass, casual sharing due to physical limitations. |
| Merchandise & Fan Support | Limited to digital sales or “virtual tips.” | A physical item fans can buy to directly support an artist. |
| High-Fidelity Audio | Often uses compressed audio to save bandwidth. | Preserves uncompressed, full-quality audio. |
| Making a Lasting Impression | A link can feel fleeting and get lost in the digital noise. | A tangible, beautifully packaged gift or product feels significant. |
| Promotional Giveaways | Easy to distribute digitally, but may lack impact. | A physical promo item people can hold onto and remember. |
| Offline Listening | Requires an internet connection or pre-downloaded files. | Works in any standard CD player, no internet needed. |
Ultimately, a Spotify link is perfect for casual sharing, but a professionally duplicated CD is the way to go when you want to make a real, lasting statement.
Preparing Your Audio for Flawless Duplication
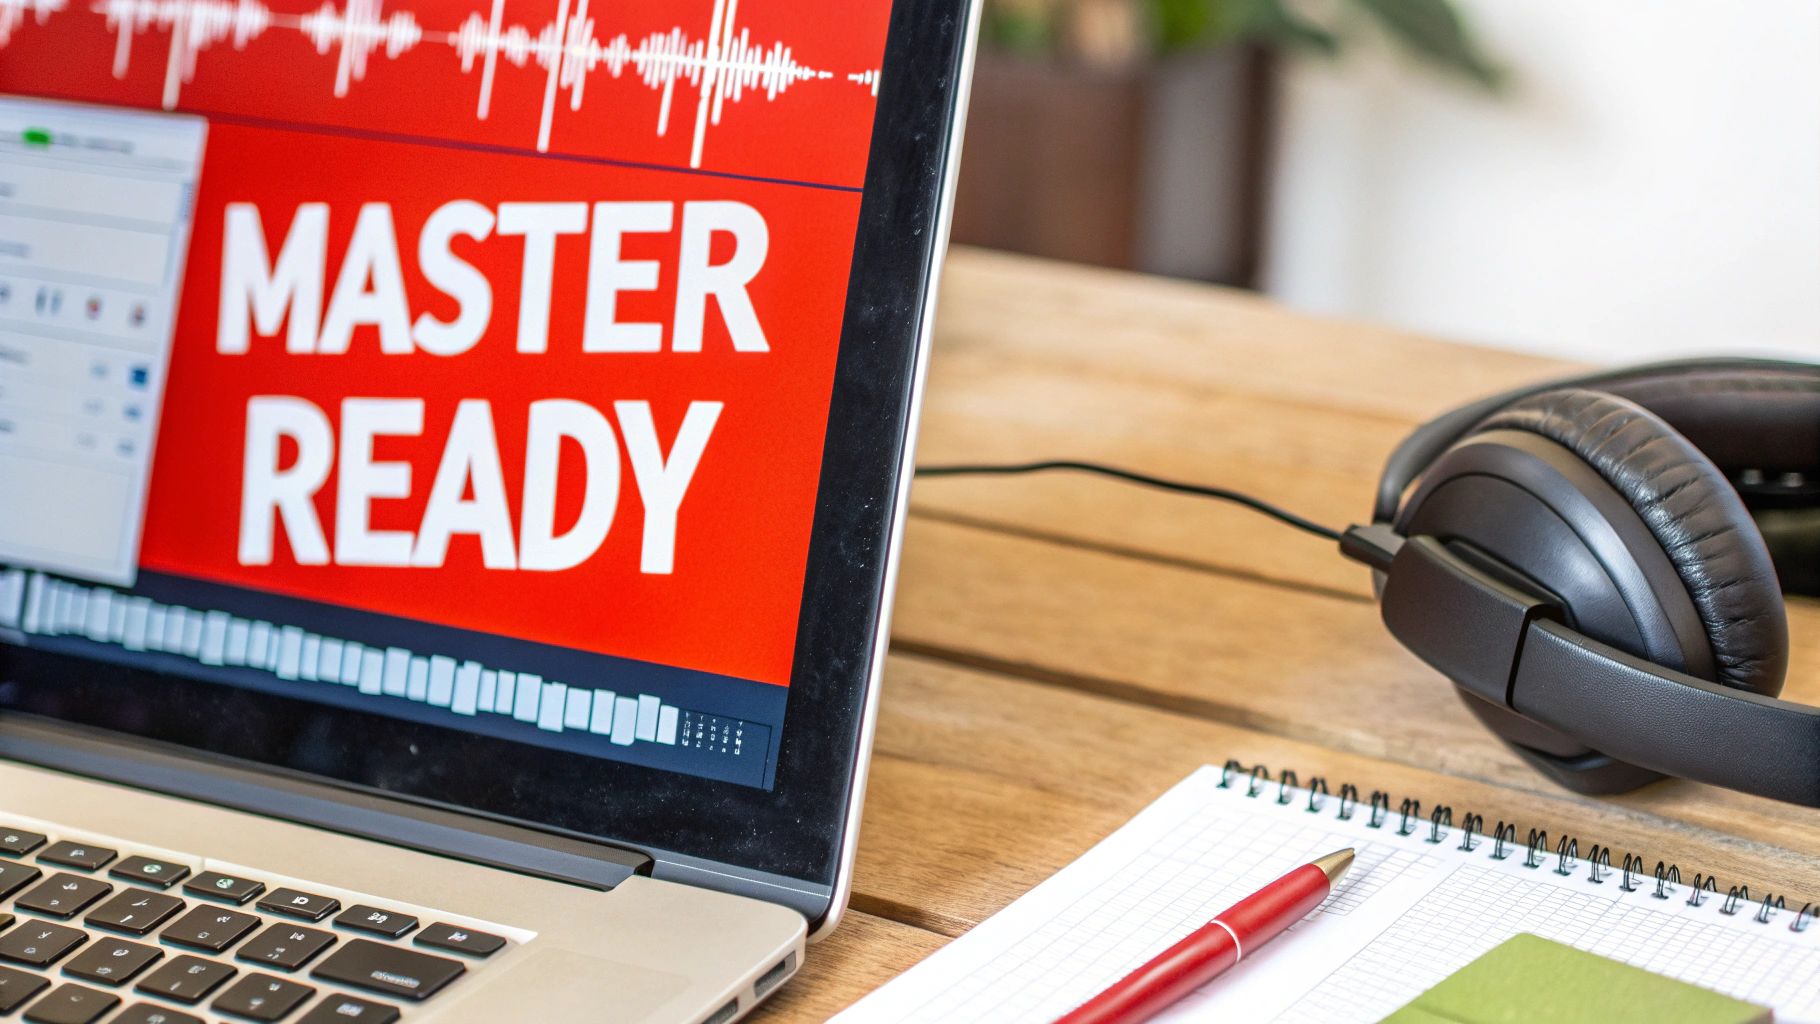
Before you even think about the jewel case or what your cover art will look like, let’s talk about the most important part of any CD project: the audio. Getting your sound files perfectly prepared is non-negotiable.
Think of it like this: a flawless master is the foundation of a professional-sounding disc. Trying to cut corners here is a recipe for a final product that sounds thin, distorted, or just plain off.
The path to a perfect master starts with the right file format. It’s tempting to use MP3s because they’re everywhere, but for duplication, they’re a terrible choice. MP3s use lossy compression, which means audio data is literally thrown away to shrink the file size. Once that data is gone, it’s gone forever.
To keep every detail of your mix intact, you absolutely must use a lossless format. These formats guarantee the duplicated CD will sound exactly the way you intended it to.
Choosing the Right Audio Format
When you’re dealing with professional cd duplication services, the standard is crystal clear. To get the highest fidelity, your master audio needs to be in one of these formats:
- WAV (Waveform Audio File Format): This is the workhorse of professional audio. It’s uncompressed, full-quality sound that works perfectly on both Windows and Mac.
- AIFF (Audio Interchange File Format): Developed by Apple, AIFF is the Mac-based producer’s go-to. It offers the exact same lossless quality as WAV.
Both of these formats deliver pristine, CD-quality audio. Just make sure your files are set to a resolution of 16-bit, 44.1 kHz. That’s the universal standard for audio CDs, and sticking to it prevents any weird conversion errors during the duplication process.
Mastering for a Cohesive Listening Experience
Got your tracks in the right format? Great. The next step is mastering them as a single, cohesive project. This is about more than just cranking up the volume; it’s about creating a seamless journey for the listener from the first track to the last.
First, lock in your track sequence. The order of the songs dictates the entire flow and emotional arc of your mixtape. Play around with it until it feels right.
Next, focus on the gaps between tracks. The standard is a two-second pause, but don’t be afraid to get creative. Maybe you want a longer, more dramatic pause after an emotional song or no gap at all to keep the energy up between two bangers.
Pro Tip: Don’t forget to embed metadata! This is stuff like the artist name, album title, and all the individual track names. It’s what shows up on CD players and in software like iTunes, and it makes your project look instantly more professional.
Finally, and this is a big one, check for consistent volume levels across all your tracks. Nothing pulls a listener out of the experience faster than having to constantly reach for the volume knob. Use a LUFS (Loudness Units Full Scale) meter to make sure each song has a similar perceived loudness. Your audience will thank you for the smooth ride.
Designing Artwork That Captures Your Vision
Your CD’s artwork is the visual handshake for your audio. It’s the first thing someone sees, and believe me, it sets the entire tone for the listening experience. Getting this right is all about blending your creative vision with the technical specs needed for a professional, polished final product.
The packaging you choose is a huge part of this. It’s not just about protecting the disc; it’s about framing your project and telling a story before a single note is played.
Choosing the Right Packaging Style
Different packaging options offer unique canvases for your artwork and create totally different tactile experiences. There’s no single “best” option—it all comes down to the vibe you’re going for.
- Jewel Cases: The classic, clear plastic case is iconic for a reason. It gives you a front booklet, an under-tray inlay, and a spine, offering multiple surfaces to design for that comprehensive, traditional album feel.
- Digipaks: These are the more premium cardboard cases with a plastic tray inside. They open up like a book, giving you a larger, continuous space for artwork that can feel more immersive and artistic. A great choice for a modern, slightly more eco-friendly look.
- Cardboard Wallets or Sleeves: Looking for a minimalist, sleek presentation? Wallets are perfect. They are lightweight, super cost-effective, and ideal for promotional giveaways or EPs where you want the focus to be on a single, powerful cover image.
You can check out a gallery of different CD cover and case options to find the perfect match. The right choice elevates your CD from just a disc to a complete, collectible piece of art.
Getting the Technical Specs Perfect
Once you have a concept, you need to make sure your design files are actually print-ready. Submitting artwork that doesn’t meet the technical specs is one of the most common reasons projects get delayed. Trust me on this.
Nearly all professional cd duplication services will require your files to meet a few key standards. Following these guidelines ensures that what you see on your screen is exactly what you get in your hands.
A design might look stunning on a backlit monitor, but translating that vibrant image to printed cardboard requires precise technical setup. Skipping these steps can lead to muddy colors, blurry text, or misaligned artwork.
Here’s your essential pre-flight checklist:
- Use CMYK Color Mode: Your screen displays colors in RGB (Red, Green, Blue), but printers use CMYK (Cyan, Magenta, Yellow, Black). Always design your artwork in CMYK from the start to avoid any nasty surprises with color shifts.
- Set Resolution to 300 DPI: DPI stands for Dots Per Inch. For print, 300 DPI is the industry standard for sharp, high-quality images. Anything lower will probably look blurry or pixelated. No exceptions here.
- Incorporate a Bleed: A “bleed” is a small margin of your artwork that extends beyond where the final cut will be made. This ensures that when the printer trims the paper, there are no accidental white edges. Most services require a 0.125-inch (or 3mm) bleed on all sides.
Even as physical media evolves, its market is holding strong. The disc duplication market is currently valued at around USD 500 million and continues to grow. This is largely driven by demand for limited-edition releases and professional projects that require a high-quality physical presentation. You can find more insights on the resilience of the disc duplication market and see just how steady its growth is.
How to Navigate the Ordering Process
You’ve got your master audio and artwork ready to go—now for the final step. Placing the order can seem a little intimidating with all the technical terms, but most cd duplication services have made their online portals pretty easy to figure out. Once you know what to look for, you’ll fly through it.
One of the first decisions you’ll make is between duplication and replication. For what we’re doing here—custom mixtapes, indie EPs, short-run projects—duplication is the clear winner. It’s the go-to for smaller batches (usually anything under 500 units) because it’s fast and budget-friendly. It’s essentially a high-quality burn onto blank CD-Rs.
Replication, on the other hand, is a full-blown manufacturing process that starts with a glass master. It only makes sense financially when you’re ordering thousands of discs, so for most of us, sticking with duplication keeps the project moving and the costs down.
Finalizing Your Project Details
As you move through the order form, you’ll see a few options that can give your project that professional polish. These aren’t just extra bells and whistles; they impact the final look and feel of your CDs.
- Print Finishes: You’ll likely have a choice between a matte or gloss finish for your packaging. Gloss makes colors pop with a slick, commercial vibe, while matte gives off a more modern, artistic, and subtle feel.
- Shrink-Wrapping: This is that thin plastic seal you see on CDs in stores. If you plan on selling your mixtape, this is a must-have. It protects against scratches and tells buyers they’re getting a brand-new, untouched product.
- Bulk vs. Assembly: To save a bit of money, some services will ship your discs in bulk (on a spindle) and your printed packaging flat. Or, for a small fee, you can get full assembly, where they put everything together for you—discs, booklets, and tray cards all in the cases. You can see how bulk CD orders are typically packaged and shipped to decide which works best for you.
Uploading and Proofing Your Files
This is where your attention to detail really matters. When you’re uploading your audio master and artwork, make sure you’re doing it right. Most companies provide downloadable templates for every type of packaging they offer. Using these templates is non-negotiable—it’s the only way to guarantee your artwork lines up perfectly.
This infographic breaks down the absolute must-haves for any print-ready artwork. Every single service will ask for this.
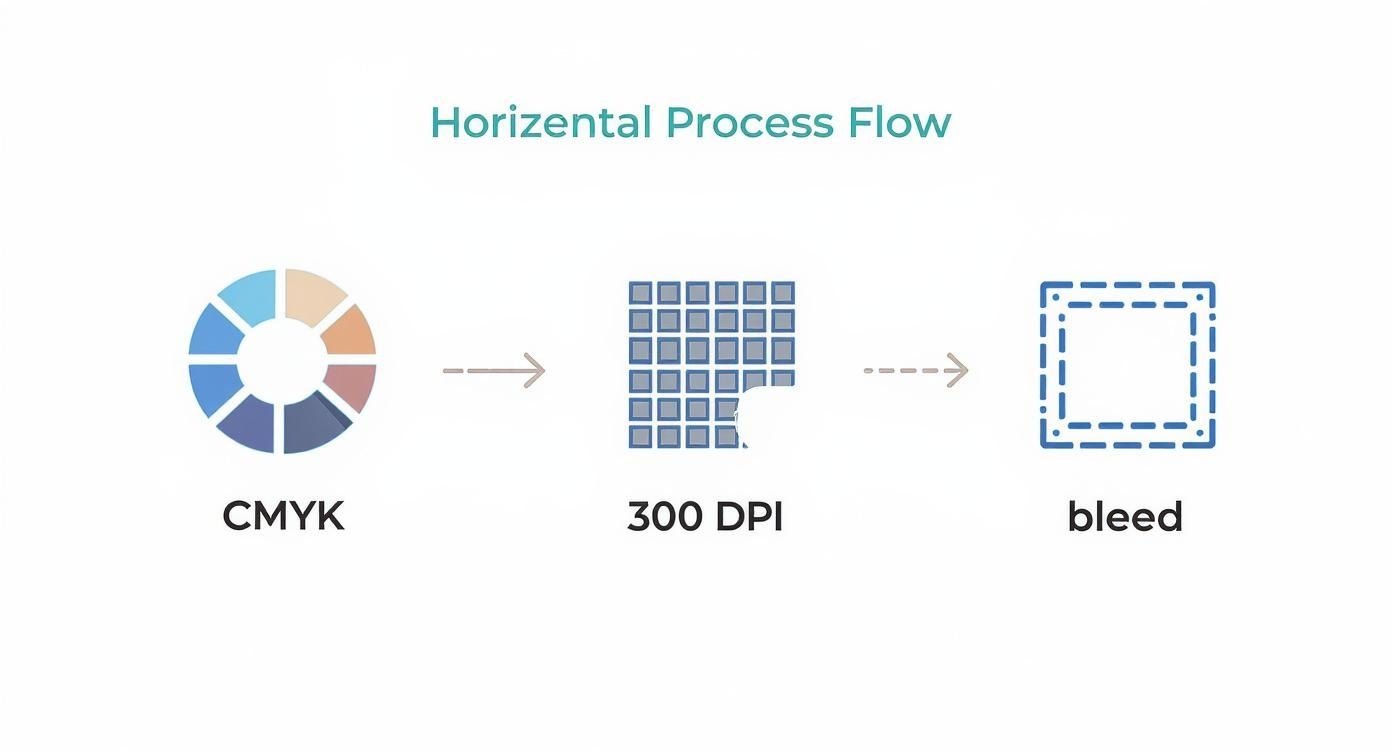
Honestly, if you just follow those three rules—design in CMYK, use 300 DPI resolution, and include a proper bleed—you’ll avoid the most common headaches and delays that plague print jobs.
After you upload, you’ll get a digital proof of your artwork. Check it like your project depends on it, because it does. This is your last chance to spot a typo, a weird alignment, or a color that looks off before it goes to print.
The whole reason this process is so smooth is because of how precise and automated the industry has become. The disc duplication market was recently valued at USD 1.2 billion and is expected to hit USD 1.8 billion, all thanks to tech that makes error-free, high-quality production possible.
Finally, keep an eye on the turnaround times and shipping options. Standard production might take a few business days, but if you’re in a jam, most places offer a rush option. Just make sure to pick the shipping method that gets your CDs to your door right when you need them.
What to Do When Your CDs Arrive
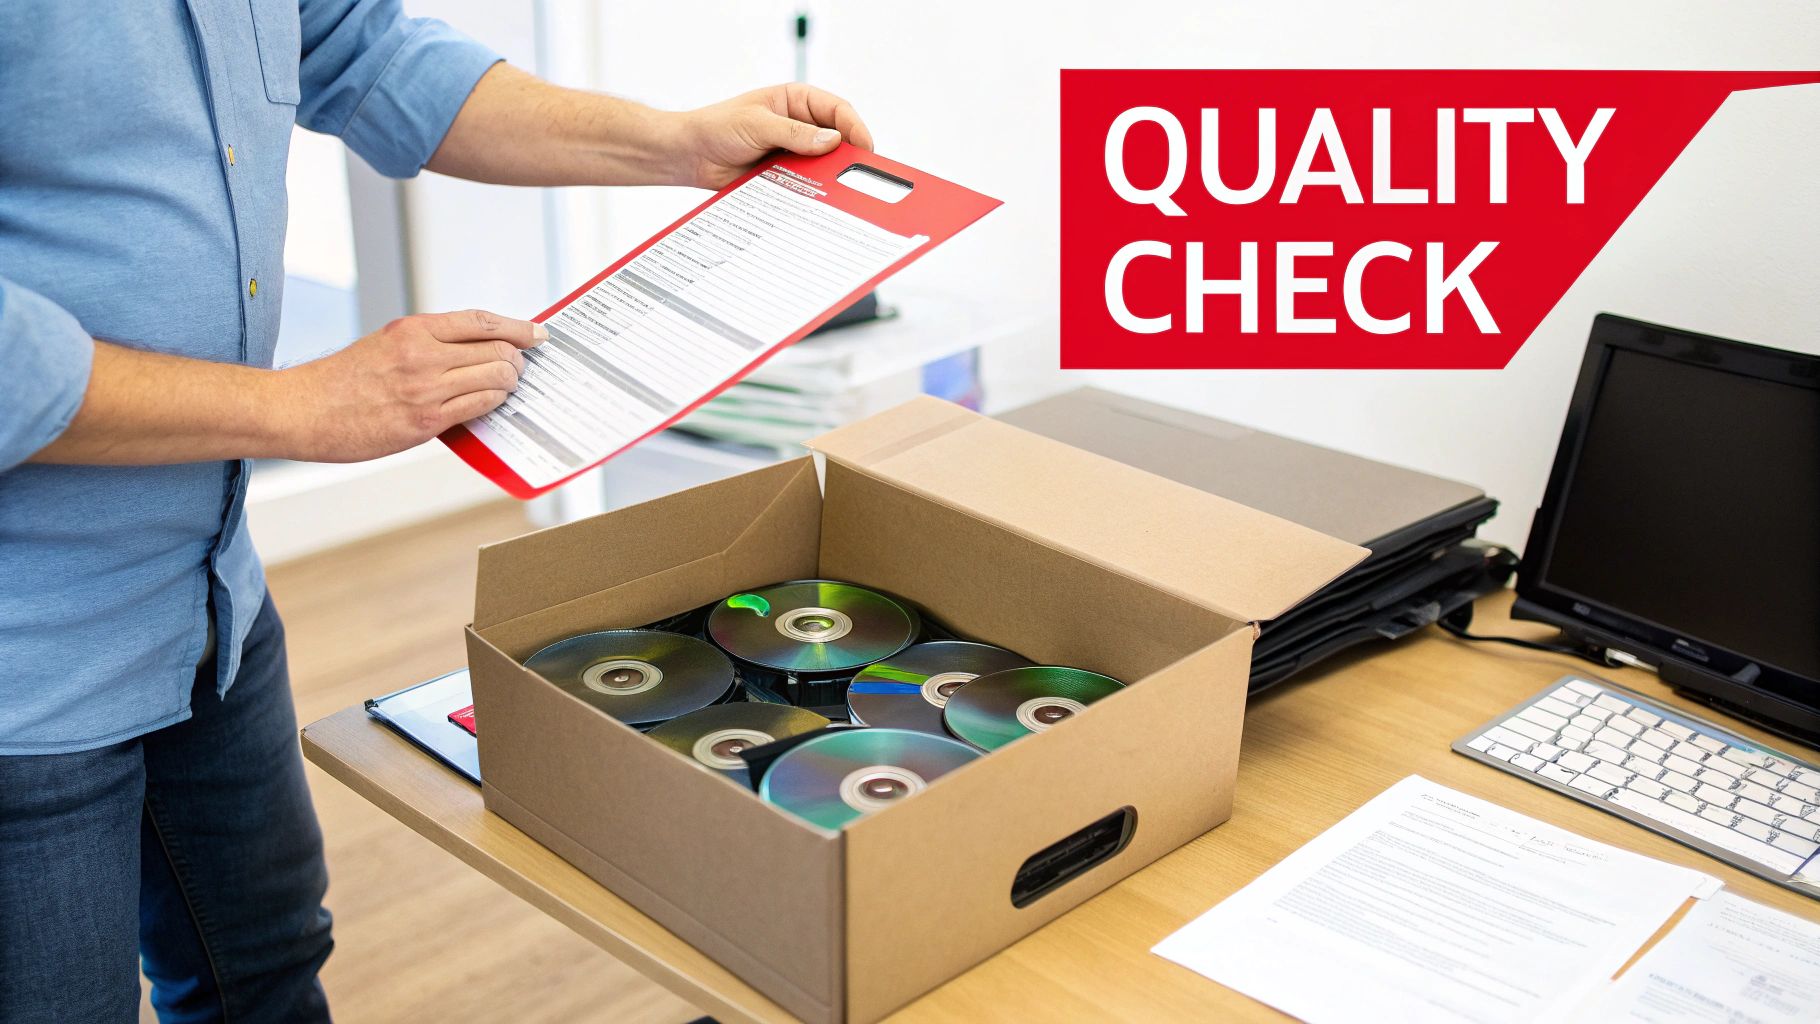
There’s nothing quite like the moment the boxes land on your doorstep. After all the time spent getting your audio and artwork just right, you finally have the real thing in your hands. But before you start slinging them at your next show, it’s smart to do a quick but thorough quality check.
This isn’t about expecting the worst. Any reputable CD duplication service has its own quality control process. Think of this as your final seal of approval, making sure every detail is exactly how you envisioned it and catching any rare slip-ups before they reach your fans.
Your Initial Inspection Checklist
Pop open a box and grab a handful of CDs from different spots in the stack. You don’t need to inspect every single one, but a random sample of 5-10 discs is usually enough to get a clear picture of the overall quality.
Here’s what you should be looking for:
- Visual Print Inspection: Get your samples under some good light. How do the colors on the disc, booklet, and tray card look compared to your digital proofs? Is the text sharp? Check for any weird alignment issues, especially on the spine text where it’s most noticeable.
- Physical Disc Check: Take a look at the disc itself. The on-disc print should be clean and centered. Flip it over and check the data side—it should be free of any obvious scratches or smudges.
- The Playback Test: This is the most critical part. Put a few of your sample CDs through their paces in different players. Try a car stereo, a computer, and maybe even that old boombox in the garage. Listen to the first few seconds of every track to make sure the song order is correct and there are no weird skips, clicks, or glitches.
The whole point here is to check for consistency. A tiny scuff on one disc is one thing, but a recurring printing error or a skip on the same track across multiple CDs points to a bigger issue.
Once you’re satisfied, take a moment to admire your work. Seeing a whole order of finished CDs, like in this shot of freshly packed inserts, is an awesome feeling. You can see how inserts are boxed for shipment to get an idea of what a full run looks like.
Handling Unexpected Issues
So, what happens if you actually find a problem? First off, don’t panic. The vast majority of issues are minor and easy to fix. The key is to get in touch with the company’s support team quickly and clearly.
If you hit a snag, follow these steps to get it sorted out fast:
- Document Everything: Snap some clear photos or a quick video of the problem. If the print colors are off, take a picture of the CD next to your digital proof on your computer screen. If it’s a playback error, make a note of the track number and the exact time the error happens.
- Figure Out the Scope: How many discs are affected? Is it just one or two from your sample, or does the flaw appear on every disc you checked?
- Contact Support Right Away: Email the company with your order number, the photos you took, and a polite, straightforward description of what’s wrong. A professional company wants you to be happy and will work to make it right.
Any decent duplication house will stand by its work and will gladly replace faulty discs or figure out a solution. Your prep work and calm communication will make sure the whole process ends with you getting exactly what you paid for.
Common Questions About CD Duplication
Even with the perfect playlist ready to go, ordering custom CDs for the first time can feel a little daunting. A few common questions always seem to pop up, so let’s get those out of the way now. Answering them upfront will make the whole process smoother.
The big one is always about rights and ownership. Do you actually need to own the music you’re putting on a mixtape? For a personal gift, like a one-off mix for a friend’s birthday, you’re in the clear. But if you have any plans to sell your CDs, you absolutely must have the licenses or legal rights for every single track. This is non-negotiable and protects you from serious copyright issues.
Turnaround Times and Minimum Orders
“How fast can I get my CDs?” That’s usually the next question. A good rule of thumb for standard duplication is about 3-7 business days after you’ve approved the final proofs for your audio and artwork. If you’re in a pinch for an event, most services offer a rush option for an extra fee.
People also worry about having to order thousands of copies. The beauty of duplication is its flexibility for smaller projects.
- Minimum Order: You can usually get started with as few as 25 or 50 CDs.
- No Maximum: While duplication is ideal for runs under 500, you can order more. Just know that for larger quantities, CD replication might be a more budget-friendly option.
This low entry point is perfect for indie artists who want to sell a small batch of EPs at a show or for anyone creating a unique mixtape for a special occasion.
Here’s a pro tip: the production clock doesn’t start ticking the moment you pay. It begins after you give the final sign-off on the digital proofs. If you want a fast turnaround, be ready to review and approve those proofs quickly.
Print Quality and Disc Longevity
Finally, how do duplicated CDs stack up against the ones you’d buy in a store? You’d be surprised. Professional services use high-quality, printable CD-Rs and printing tech that blows any home setup out of the water. The on-disc print is typically waterproof and smudge-proof, giving it a slick, retail-ready finish.
And will they last? Absolutely. A professionally duplicated CD-R can survive for decades if you take care of it. Just keep it out of direct sunlight and away from extreme heat, and that mixtape will be spinning for years to come.
Ready to create a unique, high-quality custom mixtape for someone special? At Mixtape Duplication, we make it easy to turn your playlist into a professionally packaged CD, perfect for any occasion. Start building your custom mix today!